


The 5SRW Course is designed to lead any student from the basics, starting from the first concepts, up to more complex situations both in terms of lighting and materials. The lessons are progressively structured to facilitate learning, using V-Ray for 3ds Max.
View the full Study Program for 3ds Max, or learn more about the 5SRW method.
DEMO Lesson
Introduction
02 RENDER SETTINGS
Explore the two main ways to render with V-Ray
03 V-RAY SUN & CAMERA
Learn how simple is adding a sun and a camera in a scene
04 V-RAY LIGHTS
The light sources that we will use working on the scenes
05 LIGHT HIERARCHY
Built the first light hierarchy using three sources
06 V-RAY FRAME BUFFER
Fix overexposurers with V-Ray Frame Buffer
07 V-RAY IES
How V-Ray IES works
08 V-RAY MATERIALS
Start creating V-Ray Materials from the scratch
09 V-RAY HDRI
How to light with HDRl maps
10 COLOR MAPPING
Understand the Color Mapping
Extra V-RAY LIGHT SELECT
Use the V-Ray Light Select element for Post-Production
Extra PHYSICAL VS V-RAY PHYSICAL
Learn the relevant aspect of a camera, so you can easily use both
Chapter 01
11 70s STYLE START
First Light Balance and exposure settings
12 MATERIALS
Shiny and opaque reflections / Fresnel concept
13 DEPTH OF FIELD
How to master DOF – Depth of field
14 POST-PRODUCTION
Photoshop techniques for vintage effects
Chapter 02
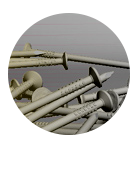
15 RAY FIRE PLUGIN
Place objects randomly with RayFire
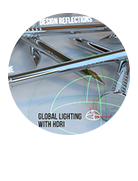
16 HDRI & REFLECTIONS
Use HDRI to create nice reflections on small objects
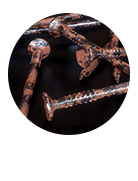
17 FINAL RENDER
Photoshop filters to create amazing bump maps
Chapter 03
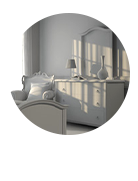
18 LIGHT BALANCE / SPOTS
SpotLights and VRaylights for complex light balance
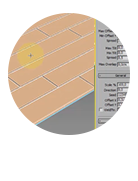
19 FLOOR GENERATOR
How to create/model a photorealistic floor using a script
20 A – CURTAINS & LIGHT
Simulate the sun passing through the curtain
20 B – CARPETS WITH FUR
How to easily create a carpet with V-Ray Fur
21 POST-PRODUCTION
The ‘Sandwich’ technique to control overexposures in Photoshop
Chapter 04
22 LIGHT BALANCE / IES
How to create an interior light hiearchy mixing IES and VRayLights
23 A – MATERIALS
How an emissive material works, in comparison with the V-Ray Light
23 B – LIGHT BALANCE / IES
Simulate a realistic calm water, with little movements
23 C – MATERIALS
How to use reflections map to increase the amount of details and realism
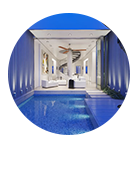
24 A – AMBIENT OCCUSION
How to enable and use the Ambient Occlusion pass
24 B – POST-PRODUCTION
How to composite a double AO layers with Photoshop
Chapter 05
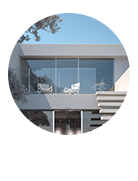
25 LIGHT BALANCE / GPU
Create a light balance for exteriors, using V-Ray GPU (former Real Time, RT) – 15:33
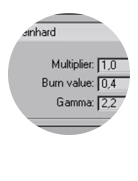
26 A – COLOR MAPPING
Handle Fresnel IOR to create photorealistic glass / exteriors – 32:20
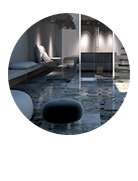
26 B – MATERIALS
How to use the fall off effect and the reflection map to have more details

27 A – RENDER ELEMENTS
How to create and use the render elements for a post-production
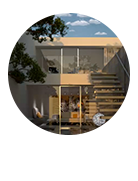
27 B – POST-PRODUCTION
It’s the magical moment of the day, when the sun is close to the horizon
Chapter 06
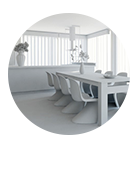
28 LIGHT BALANCE / NATURAL
Realistic natural light with V-Ray Sun and Curtains
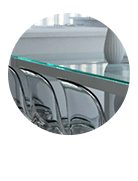
29 MATERIALS
Traslucency: VRay2Sided Materials and VRay SSS2
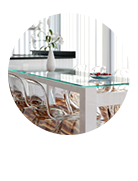
30 A – FINAL RENDER
Let’s create another shot with the depth of field effect
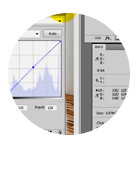
30 B – WHITE BALANCE
Let’s carry out an advanced white balance technique
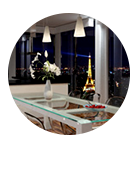
31 NIGHT LIGHTING
Use VRay Reflections, night effect – 11:37
Chapter 07
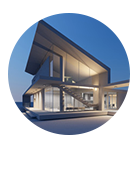
32 LIGHT BALANCE / EXTERIOR
Photographic composition and night balance (exterior) – 15:29
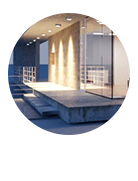
33 MATERIALS
How to use VRaycompTex to improve texture details – 18:32
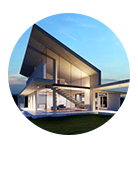
34 FINAL & POST
VRayFur to easily create amazing grass – 12:34
Chapter 08
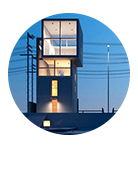
35 LIGHT BALANCE / NIGHT
IBL, how to use HDRI maps with a VRay Dome – 19:53
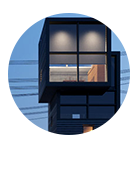
36 MATERIALS
Unwrap modifier to map different surfaces – 18:32
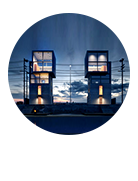
37 FINAL & POST
Fad, Proglow and Vignetting techniques with Photoshop – 12:02
Chapter 09
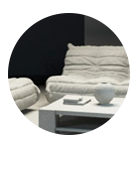
38 LIGHT BALANCE / STUDIO
Studio lighting setup for lowkey scenes – 15:46
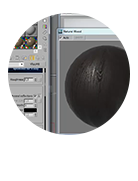
39 MATERIALS
Complex materials using reflection/Glossy maps – 15:01
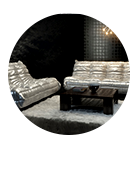
40 FINAL & POST
How to use VRayLens controls to create Bloom & Glare – 15:09
Chapter 10
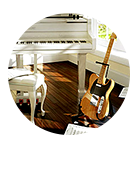
41 DNA – INTRO & CONCEPTS
Handle V-Ray Camera, Lights and spaces for lighintg schemes – 4:23
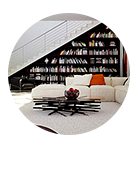
42 DNA – DAYLIGHT LOFT
SCENE – Daylight Loft, VRayportal for natural light (Lighting Template)
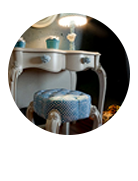
43 DNA – MAGIC ROOM
SCENE – Use VRayLens to get the magic into ‘Magic Room’ (Lighting Template)
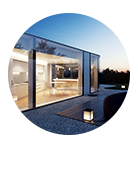
44 DNA – LAKE HOUSE
SCENE – How a simple VRayDome + VRaySKy can create the magic ‘Lake House’ (Lighting Template)
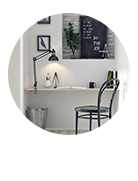
45 DNA – BLACK & WHITE
SCENE – VRaySun + Portal + IES + VRayLight in Black&White interior (Lighting Template)
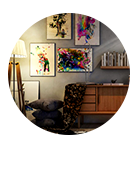
46 DNA – ART ROOM
SCENE – VraySphere Light and IES in Art Room (Lighting Template)
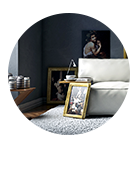
47 DNA – CARAVAGGIO STYLE
SCENE – Use VRaySun multipler for Caravaggio Style (Lighting Template)
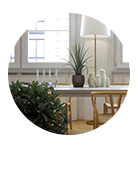
48 DNA – BONILLA LIGHT
SCENE – Natural and bright light in Bonilla Lighting (Lighting Template)
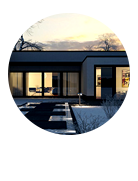
49 DNA – WINTER VILLA
SCENE – Dusk lighting in exteriors (Lighting Template)
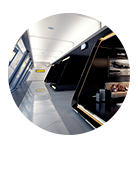
50 DNA – AIRPORT CONCEPT
SCENE – Use this complex lighting for big spaces like an airport (Lighting Template)
Complete all the tests, successfully passing all of them