


In this course the trainer Hector Suriel teaches you how to create a car from the first polygon, using the Hard Surface Modeling. This is technique based on the idea of manipulate polygons, smoothing them with the Turbosmooth modifer.
COURSE RESERVED – Only the Learnvray students can buy this special package. Log In or contact us at support@learnvray.com

01 INTRODUCTION TO HARD SURFACE
Short introduction to Hard Surface Modeling modeling technique
02 BLUEPRINTS PREPARATION
How to prepare blueprints using Photoshop
03 A – BLOCKING AXES 1
Start modeling, creating the main car’s body, blocking axes

03 B – BLOCKING AXES 2
Avoid problems with geometries during the process

03 C – ADVICE 1
Suggestions to to solve scene errors
03 D – ADVICE 2
Why use a specific material for modeling
04 A – BLOCKING AXES 3
Keep modeling the car
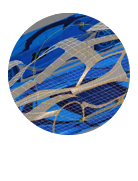
04 B – BLOCKING AXES 4
Complete the main geometry of the back of the car

04 C – CUT TOOL
How to Cut tool works and how to use it
04 D – REMOVE TOOL
How to use the Remocve tool, located into Edit Poly modifier
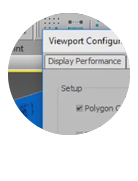
04 E – CUT TOOL
How to use the tool named ‘Poly Count’
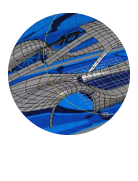
05 A – BLOCKING GEOMETRY 1
Filling the geometry to shape our car
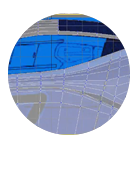
05 B – BLOCKING GEOMETRY 2
Creating more geometries
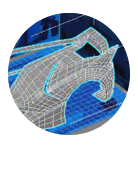
06 A – BLOCKING GEOMETRY 3
Creating more geometries
06 B – BLOCKING GEOMETRY 4
Completing the remaining car geometries

07 A – WHEELS MODELING 1
Learn the technique to model a detailed wheel
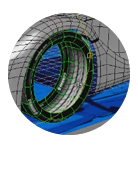
07 B – WHEELS MODELING 2
Learn the technique to model a detailed wheel
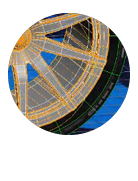
08 – WHEELS MODELING HOOPS
A new modeling technique to model rims

09 – FRONT LIGHT MODELING
Modeling front lights in the details
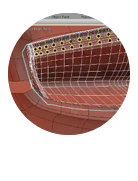
10 – REAR LIGHT MODELING
Model rear lights using a new technique
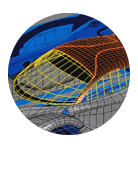
11 – MODELING OF THE CRYSTAL
Modeling the car crystals and start with other details
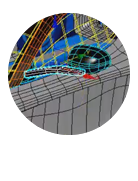
12 A – MODELING THE DETAILS 1
Let’s model our car exterior details
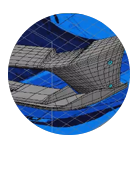
12 B1 – MODELING OF THE DETAIL 2
We will model all the car’s front details
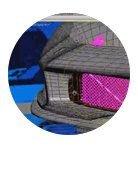
12 B2 – MODELING THE DETAILS 2
Complete all the details left in the front part of the car
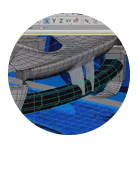
12 C – MODELING OF THE DETAIL 3
External details on the rear of our car
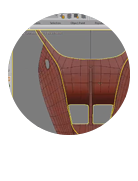
13 A – MODELING THE DETAILS 4
Keep modeling car details
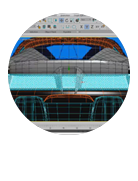
13 B – MODELING OF THE DETAIL 5
Model all the details in the rear part of the car
13 C – MODELING THE DETAILS 6
Last details
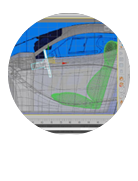
14 A – MODELING OF THE INTERIOR 1
Begin to model the car interior
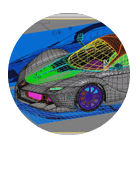
14 B – MODELING THE INTERIOR 2
Let’s model the bottom of the car, which is our last part
15 – CONVERTING TO HIGH POLY
Convert “Low Poly” geometry into “High Poly” to refine the details

16 – MATERIAL AND FINAL RENDER
Apply simple materials to our model and create our first render